
This week I was given the opportunity to observe and participate in a mock collection water emergency response. I learnt that there are three general steps to collection emergencies: Discovery, Response, and Recovery. We focused on the response because that’s really what the majority of the team, which is composed of several archivists, exhibit preparers, and an operations manager, is qualified to do. Response focuses on stabilizing the condition of the materials, i.e. moving them, drying them out, and determining what can and should be keep if severely damaged. Recovery would be under the discretion of a conservator, which would be Jae’s role in case of emergency.
Collection Emergency Response Kit:
- dishpans
- flashlight
- plastic erasers
- writing pad
- cooking twine
- clothespins
- duct tape
- pre-sharpened pencils
- scissors
- 100% cotton towels
- tabletop fan
- three rolls of plastic cover sheets

Preparation:
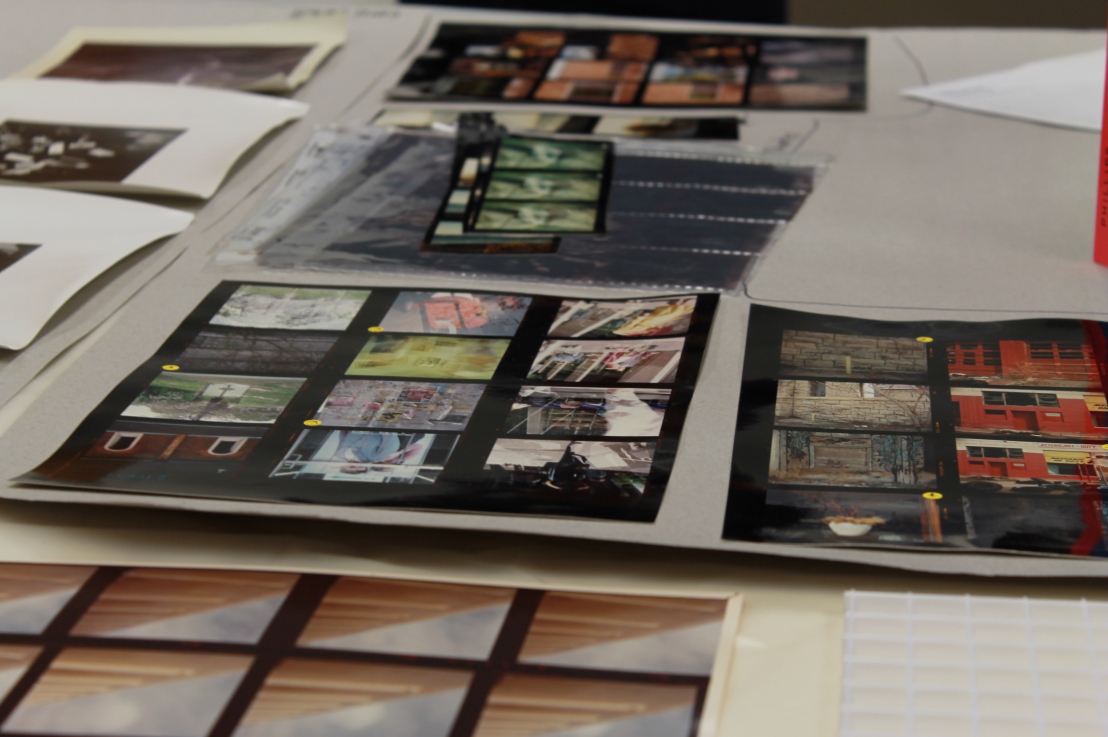
For this meeting, Jae and I had to recreate expendable versions of the archives and fine prints. We took some samples from the study collection, which are solely teaching materials, and borrowed 2 types of archive boxes, a fine print and a bankers box.
Jae and I created the disaster around 4:30 pm on Monday for the response team to “discover” the next morning at 10 am. We created three scenarios: 1. we poured 2L on a single point of the bankers box as if a leak in the roof was hitting one corner, 2. we poured 1L of water across the surface of the stack of mounted fine prints as if a pipe had bursted over them, and 3. we poured about 1.5-2L of water on the cover of the fine print archival box.
Scenario 1: The Bankers Box
Bankers boxes are usually labeled on the outside with no other identification about what is inside and can hold a variety of things including folders, binders, prints. I recreated this by organizing several folders full of study/expendable materials. I tried to make it so each folder had some variation of silver gelatin prints, film, and contact sheets.We also included 2 books and a binder full of Kodachrome film.
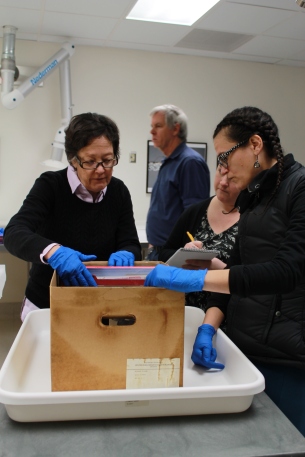
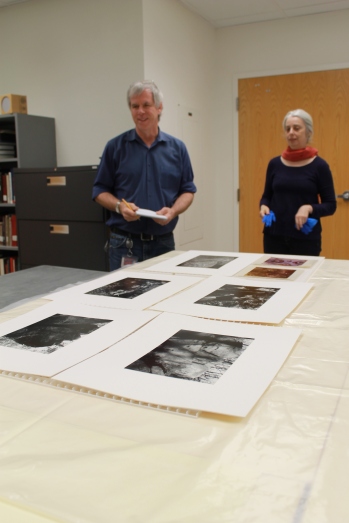
To make each scenario realistic, we split into the most logical teams. The photos above show three archivists looking at the damage to this archival box. Two of them are going through it and the third is the documenting the process. For each object they pull out, it must be recorded. Even if they decide to throw something out, it must be accounted for.
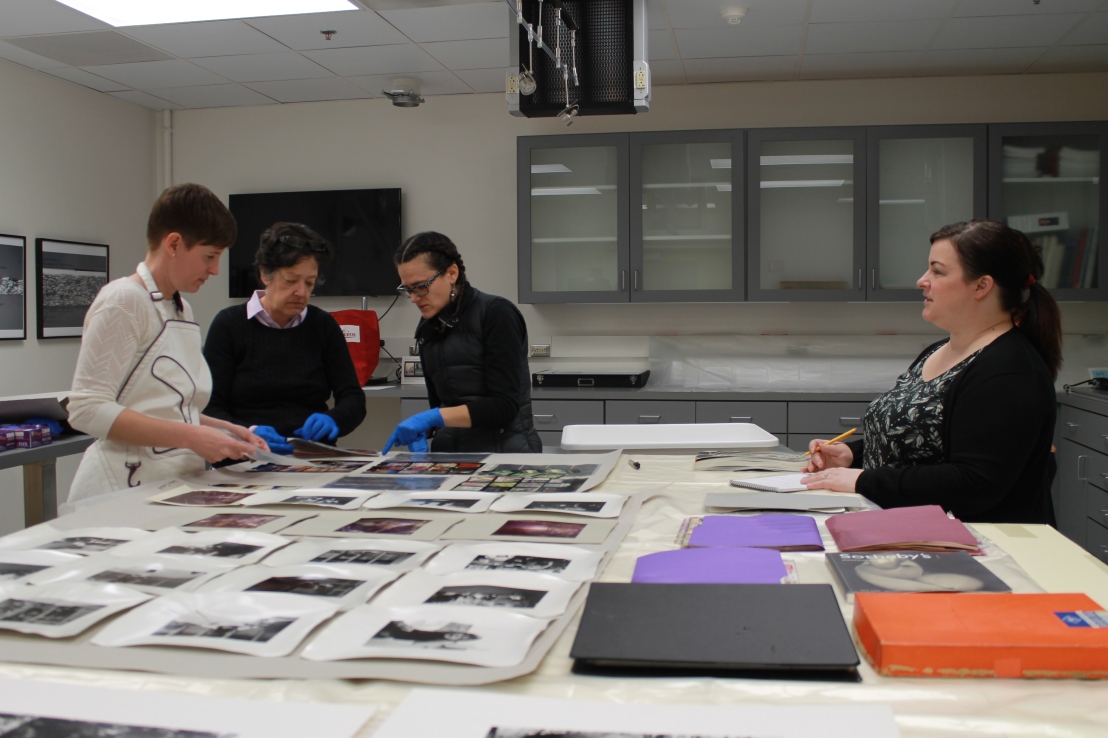
It was interesting to watch these professionals figure out the best way to utilize their space while also keeping track of each object. As seen above in the photo, the materials quickly took over all available space. This is one of the reasons during response and recovery, professionals have to decide if something is worth saving. For example, if a book is completely soaked but you found a another copy in the CCP Volkerding Study Center or a digital version online, it doesn’t make sense to put time and effort into saving that book when there are other rare objects that also need to be cared for. Now if that book was annotated by Ansel Adams, we have a different story because now it is rare and arguably important for cultural heritage.
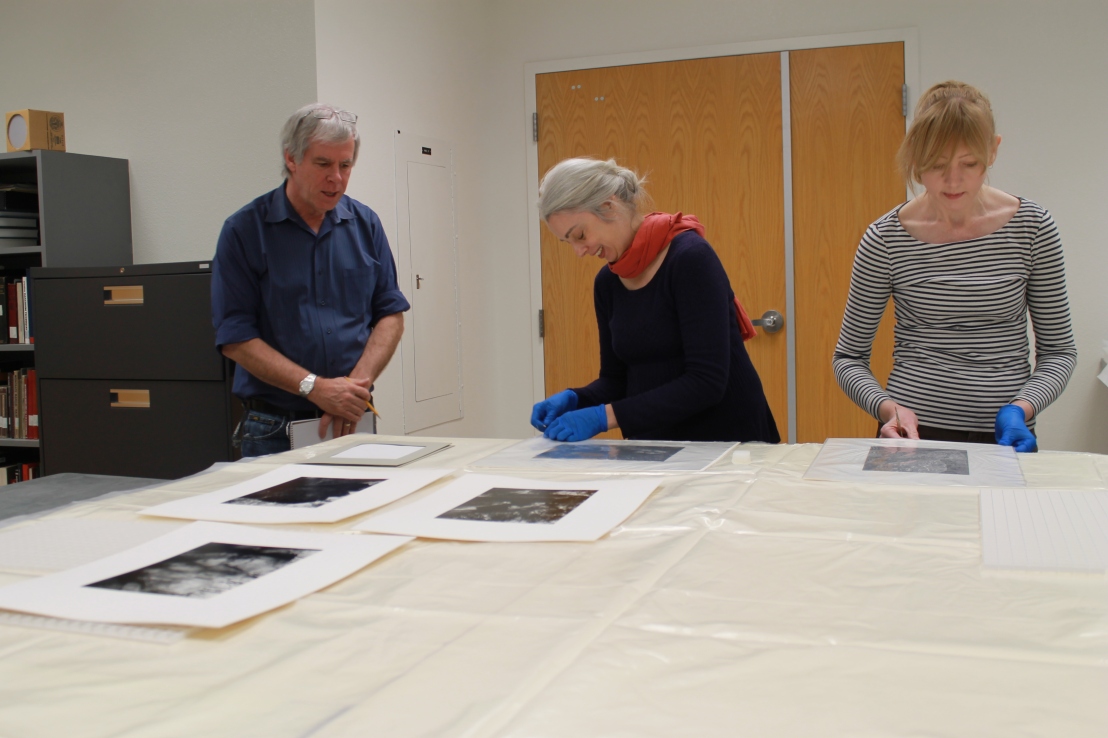
Scenario 2: Exposed Mounted Fine Prints
 This scenario is most likely to happen in exhibition prep so our two exhibit preparers (not sure of the official title by the way) were assigned this task. In this photo, we can see that the interleaving has already started to distort immediately after having water pour on it.
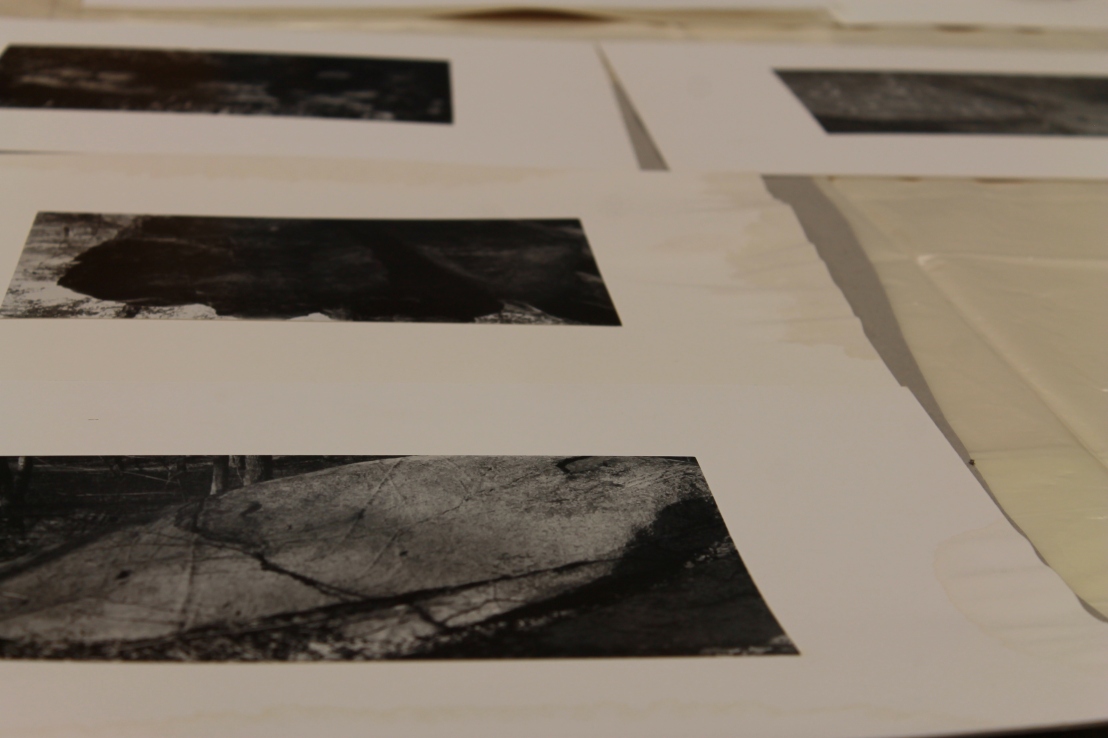
We could see the tide lines from the water on the mount and several of the prints also had tide lines running across their surface. It’s my understanding that it is possible to rewet a mount board and push the tide lines back but you run the risk of making it worse. Because they were still damp, we put them out to dry on craft paper while we discussed the potential recovery options. At this point, the best option seemed to be to stabilize the image by removing it from the mount board as soon as possible. Like in the book example for scenario 1, part of response is to decide what to keep and what to throw out. Some questions to ask before throwing out mount boards include: Is it original? Are there any significant markings or comments from the artist? Any other unique information that should be documented?
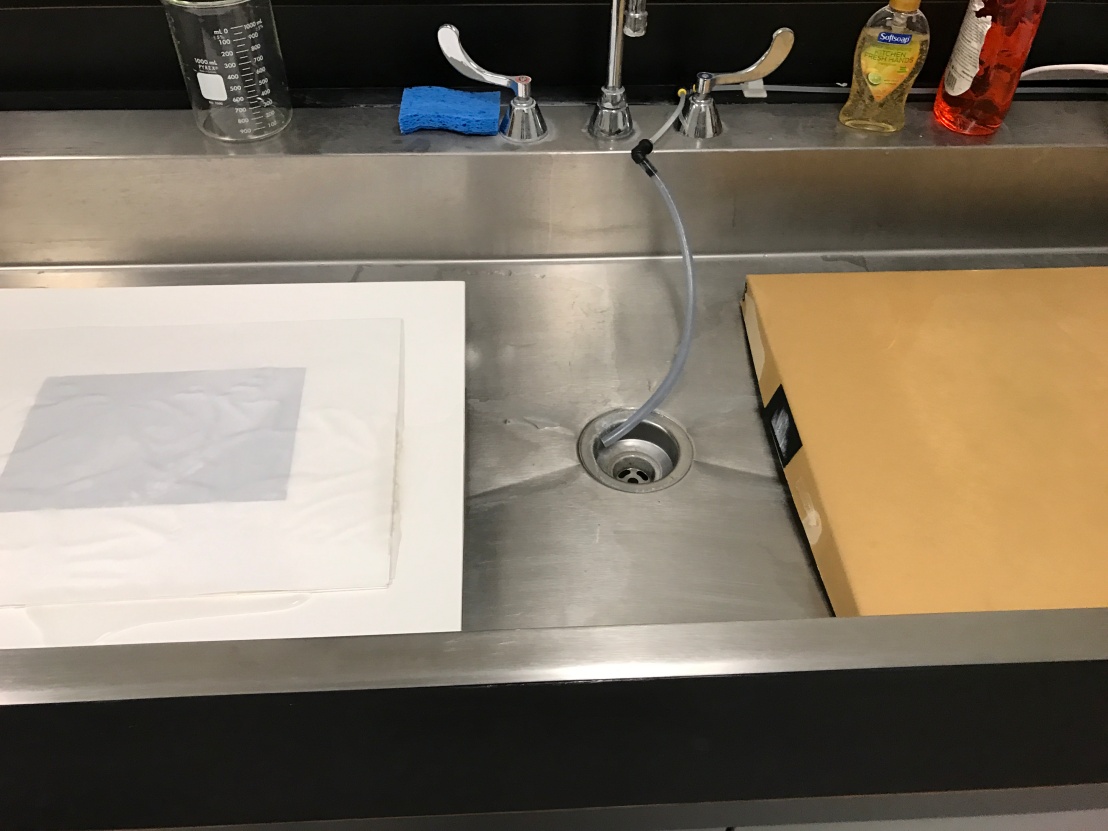
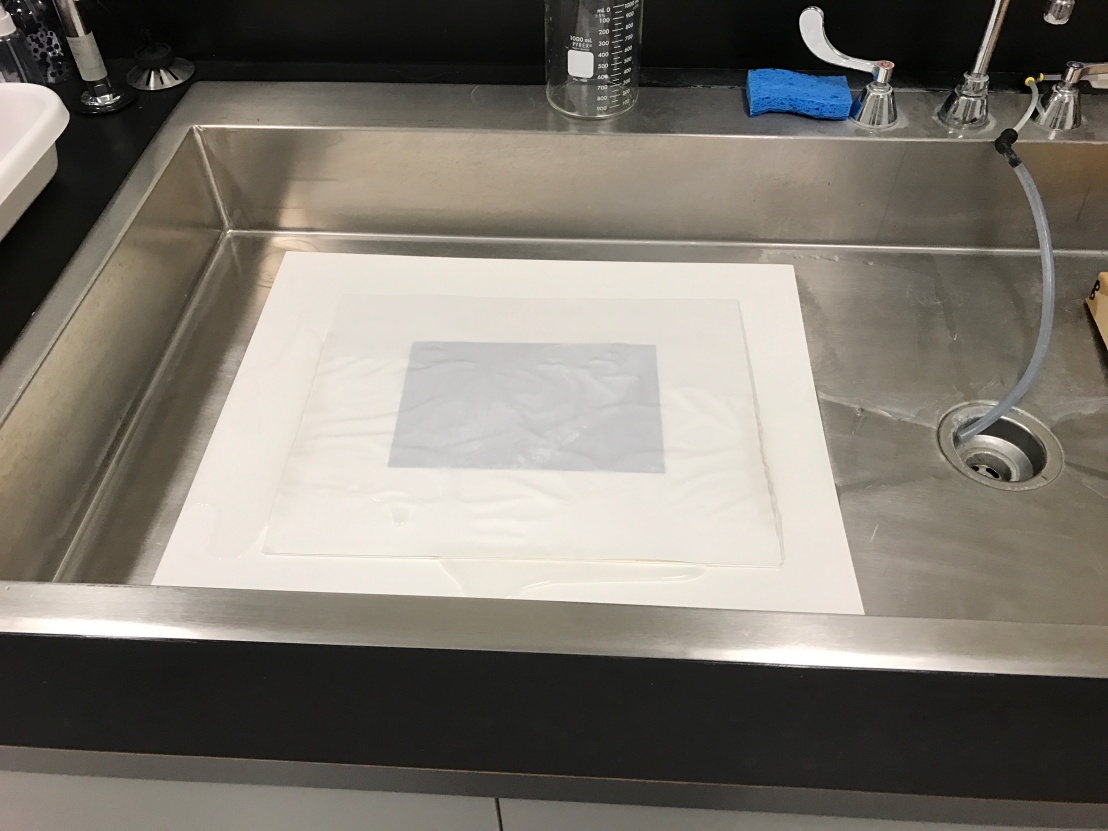
The primary response is to let everything air dry. Due to lack of time and personnel, institutions may have to freeze objects until they are able to deal with them. Shown above, is an image being placed on a fluorescent light diffuser panel. Jae recommends this in order to elevate the image so that air can circulate it and make it dry quicker and evenly.
Scenario 3: Fine Print Archival Box
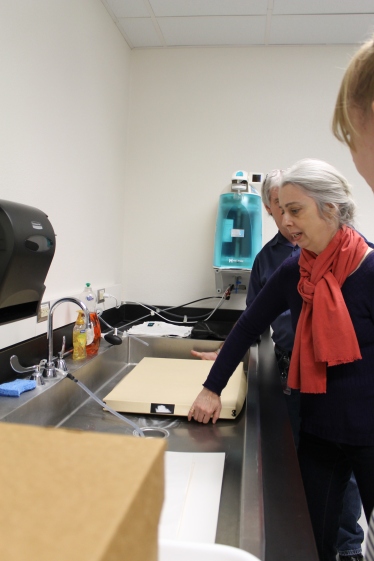
This archive box is made of sturdy paper and has metal corners. It is designed to house fine prints that are mounted and matted. It held up fairly well to water and the prints inside were in much better condition than the exposed fine prints.
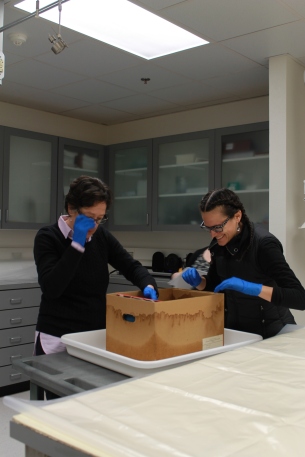
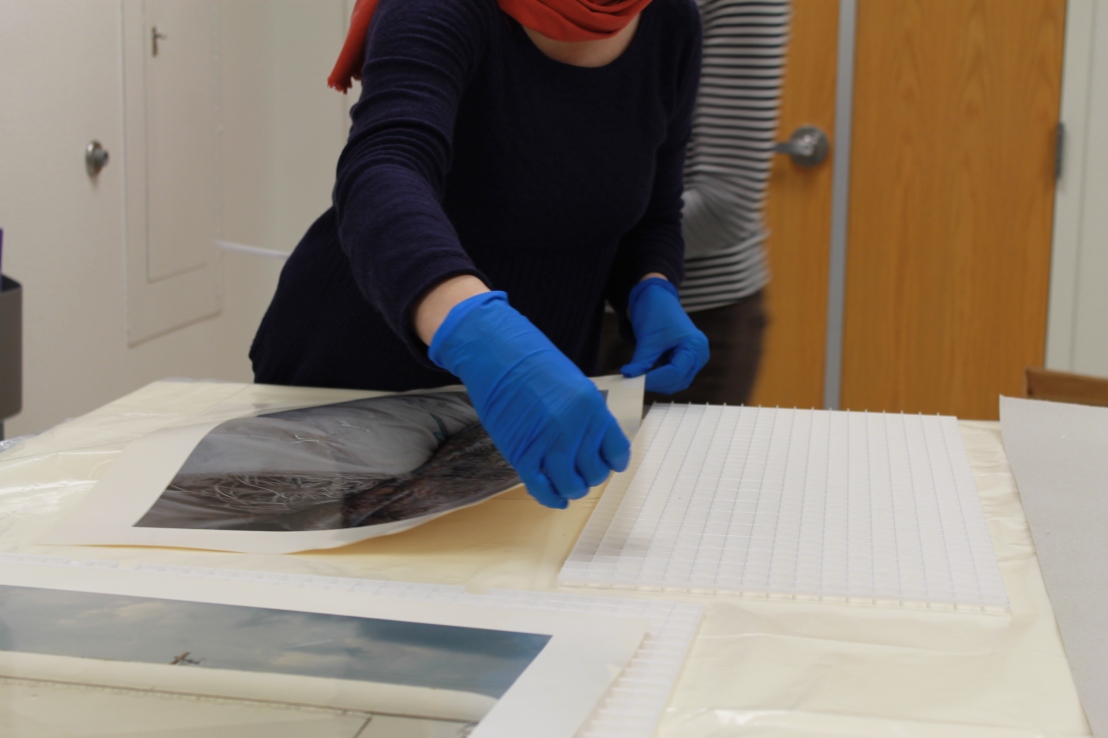
Again, we see that two people are working with the materials and the third is prepared to document. For the two prints being handled, the plastic sleeving can be both protection and can facilitate damage. While water can roll off the sleeving, it can also get caught in it. This changes the relative humidity and also prevents the image from drying so the best option was to remove it.
Overall, the best solution for a water emergency to respond quickly and air dry as much as you can. Using light diffusers, vinyl mesh, or bakers racks, you can get really creative on how you dry these materials.

Amazing! What is the duct tape for?
LikeLike
My first thought would be to tape the craft paper or plastic sheets that the images would dry on to a surface so they won’t fly up and collapse on the images when using the fan. It could also be used for taping together sheets of craft paper or plastic to create a bigger drying surface or maybe (if there wasn’t a safer option like a weight) to attach the twine across tables to act as a clothesline for negatives.
LikeLike